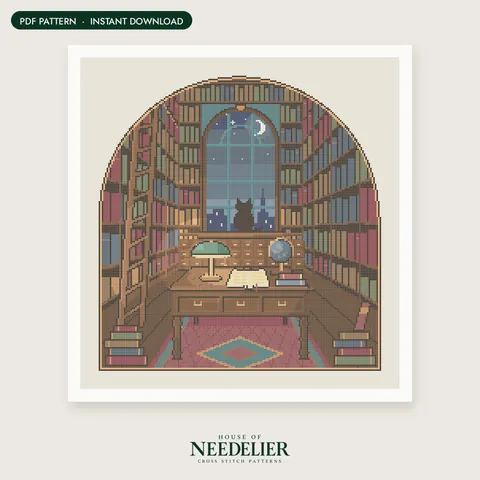
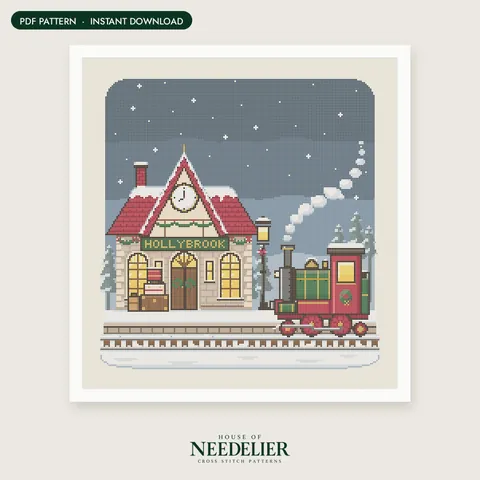
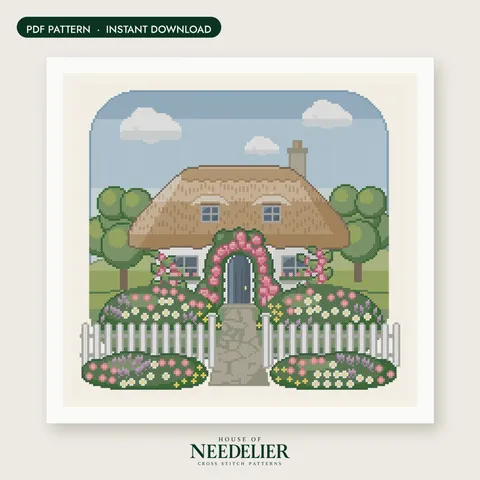
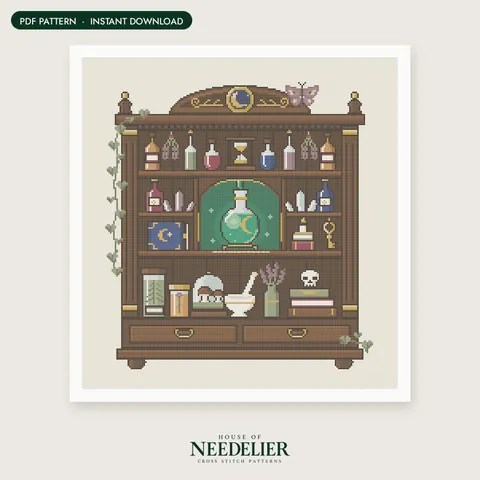
A large pattern – 150 or more stitches across, 30 colors and a chart over many pages – can feel overwhelming at first. The secret is that you never stitch the whole thing at once, only one small square at a time. Here's how experienced stitchers plan, count and keep going.
Before you start
A little preparation saves a lot of frustration later:
- Cut enough fabric. Divide the stitch count by the fabric count to get the design size, then add at least 3 inches (7.5 cm) on every side for framing. Our fabric guide explains the sums. A design 178 stitches wide is about 12.7 inches (32.3 cm) on 14 count Aida.
- Stop the edges fraying. Overcast, zigzag or tape the raw edges – a big piece is handled for months.
- Buy all the floss at once, using the skein estimates in the floss key.
- Organize the floss. With 30 or more colors, a floss card labeled with each chart symbol and DMC number is close to essential. See how to organize embroidery floss.
- Print the black-and-white symbol chart so you can mark it as you go, and keep the page map nearby.
Choose a frame that holds big fabric
A small hoop has to be moved over finished stitches again and again, which can crush them. For big projects, most stitchers prefer:
- A scroll frame: two rollers with side bars. The fabric is attached to the rollers and the finished part rolls out of the way. It holds the fabric evenly taut, and a stand leaves both hands free.
- Stretcher bars: wooden bars that slot together into a fixed frame a little larger than the design. The fabric is pinned or tacked to the bars, so nothing presses on the stitched area.
- A large plastic snap frame (Q-snap), moved around the design.
If you do use a hoop, choose one that fits a whole chart page if you can, and take the fabric out between sessions. More in our hoops and frames guide.
Where to start a big pattern
There are two common choices:
- The center. Find the center of the fabric and start at the center arrows on the chart. It's the safest way to make sure the design sits evenly on the fabric. See how to find the center.
- The top-left corner. Many stitchers of big pieces start at the top left and work across and down, page by page, so their hand never rests on finished stitches. Count from the center to the corner on both chart and fabric so the margins stay even.
Work page by page, in 10x10 blocks
Our larger patterns are split over several pages, with a page map that shows how they fit together. Each page also repeats a narrow strip of its neighbor in a faded tint, so you can line the pages up exactly.
Within a page, use the bold lines every 10 squares to split the chart into blocks of 10 × 10 stitches. Finishing one block at a time has real advantages:
- You never count more than 10 squares from a bold line.
- Mistakes show up quickly, while they're easy to fix.
- Each finished block is a small win you can see.
Gridding your fabric
Gridding means marking your fabric with lines every 10 squares to match the bold lines on the chart. Then you only ever count inside one square of the grid.
The usual way is to run a line of long running stitches through the holes with a smooth, contrasting thread – a fine nylon line or a thin sewing thread both slide out easily later. Follow the line of holes exactly, counting carefully, and stitch over the gridding thread loosely so you can pull it out as each area is finished. Some stitchers use a water-erasable fabric pen instead; test it on a scrap first, and avoid heat-erasable pens, whose marks can reappear.
Cross-country or parking?
These are two ways to decide what to stitch next.
Cross-country means stitching one color across a large area – often a whole page – before moving to the next color. You change threads less often, and it works well for big areas of one color and for designs with plenty of empty fabric. The downside is counting: placing a stitch 25 squares away from the last one is where most miscounts happen.
Parking is a way to finish one small block completely, with every color, without ending and restarting dozens of threads. In simple terms:
- Stitch all the squares of one color inside your current block.
- Instead of ending the thread, bring the needle up through the first square where that color is needed in the next block and leave the thread hanging on the front. It's now “parked”.
- Do the same with every other color in the block.
- When the block is done, move on. Each color is already waiting in the right spot, so you just pick it up and stitch.
Parking works best in dense, fully stitched designs with many colors, because the threads carried on the back are short and soon covered by new stitches. Keep parked threads away from your working area – a needle minder or simply laying them over the edge of the frame helps – and end any thread that won't be needed for a long time.
Handling confetti
Confetti is stitchers' slang for single stitches, or tiny groups, of a color scattered among others. Large, detailed patterns often have lots of it in shading, fur, foliage and skies.
- Stitch confetti as part of your 10 × 10 block, not across the whole page.
- Parking handles confetti especially well.
- In open areas where fabric shows, end the thread rather than carrying it more than 3–4 squares on the back. Our starting and ending threads guide shows neat ways to do it.
Mark your progress on the chart
On a printed black-and-white chart, color over each finished square or block with a highlighter. Tick each color in the Done box of the floss key when it's finished. If you stitch from a tablet, use a highlighter tool in a PDF annotation app – see stitching from a PDF pattern.
Staying motivated
Big projects are a long journey, and the middle often feels slow.
- Set small goals: one block a session, one page a month.
- Take progress photos – seeing how far you've come is a great boost.
- Rotate projects. Keep a small, quick design for when you need a finish.
Next: How to fix cross stitch mistakes.
Frequently asked questions
Where should I start a large cross stitch pattern?
Starting at the center is the safest way to keep the design centered on the fabric. Many stitchers of large pieces prefer the top-left corner and work page by page – just count from the center to the corner first so the margins stay even.
What is the parking method in cross stitch?
Parking means finishing one small block with every color, then bringing each thread up where it's needed next and leaving it waiting on the front instead of ending it. It saves many thread starts and stops in dense, many-color designs.
Should I grid my fabric for a big cross stitch?
It's very helpful. A gridding line every 10 squares matches the bold lines on the chart, so you only count short distances and miscounts are easy to catch.
Is cross-country or parking better?
Neither is better for every design. Cross-country suits large areas of one color and designs with open fabric, while parking suits dense, detailed areas with lots of colors and confetti. Many stitchers mix the two in one project.
How long does a large cross stitch pattern take?
It depends on the design and your pace. Time yourself for one session, count how many stitches you made, and divide the pattern's total stitch count – listed on our covers – by that number to estimate how many sessions you'll need.