Small cross stitch designs make the best Christmas ornaments: quick to stitch, light enough to hang on a branch, and lovely as gifts or package toppers. Here are three finishing methods, from the simplest to the most polished.
Choose the right design
Ornaments work best at about 2 to 4 inches across. Pick a small motif, or stitch a slightly larger one on a finer fabric: a design 54 stitches wide is about 3.9 inches on 14 count Aida but only 3 inches on 18 count. See the fabric count guide to work out any size.
Stitch several ornaments on one piece of fabric, leaving 2–3 inches between motifs (3 inches if you plan hoop finishes), so you can cut them apart and finish them all in one sitting. Before you finish anything, wash and press the stitching as described in our finishing guide – it's much harder once it's glued or sewn.
What you'll need
- Felt in a coordinating color (wool blend or craft felt)
- Ribbon, baker's twine or a twisted cord for the hanging loop
- Thin card, such as a cereal box, for flat ornaments
- Polyester fiberfill stuffing for pillow ornaments
- A 3–4 inch embroidery hoop for hoop ornaments
- Fabric or craft glue, sharp scissors, pins, and floss to sew with
- Optional: pinking shears, fray-stop liquid, buttons or a little bell
1. Felt-backed flat ornament
The quickest finish – no sewing machine and no turning.
- Cut a piece of thin card the shape you want: a circle, square or rounded rectangle about 1/4 inch larger than the design on every side.
- Trim the Aida about 1/2 inch beyond the card. Lay the stitching face down, center the card on the back, and glue the fabric edges over the card, snipping notches on curves so it lies flat.
- Cut a piece of felt a little larger than the card.
- Fold the ribbon into a loop and glue or stitch the ends to the top of the back.
- Glue the felt over the back, covering the raw edges and the ribbon ends. When it's dry, trim the felt close to the edge – pinking shears give a pretty edge.
For a sewn version, skip the glue: place the trimmed stitching on the felt and work a blanket stitch around the edge with two or three strands of floss, catching the ribbon at the top as you go.
2. Stuffed pillow ornament
Soft and plump, like a tiny cushion.
- Trim the stitching to the shape you want, leaving about 1/2 inch beyond the design for the seam. Cut a backing the same size from felt or cotton fabric.
- Place the loop of ribbon between the layers at the top, ends pointing out, and pin the stitching and backing right sides together.
- Sew around the edge about 1/4 inch from the design, by hand with a small backstitch or by machine, leaving a 1 to 1½ inch gap at the bottom.
- Clip the corners, turn the ornament right side out and push the corners out gently with a blunt tool.
- Stuff lightly with fiberfill – small pieces at a time, into the corners first.
- Close the gap with a ladder stitch (also called an invisible or blind stitch).
3. Mini hoop ornament
A small wooden hoop is already a frame and a hanger in one.
- Place the stitching in the hoop, centered, and tighten the screw until the fabric is drum-tight.
- Trim the fabric to about 1 inch beyond the hoop.
- Sew a running stitch around the edge of the fabric with strong thread and pull it up so the edges gather at the back. Tie off.
- Cut a circle of felt the size of the inner hoop and glue or whip stitch it over the back.
- Tie a ribbon through the hoop's screw for hanging, or add a bow.
You can paint or wrap the hoop with ribbon before you start for a more festive look.
Designs that work well
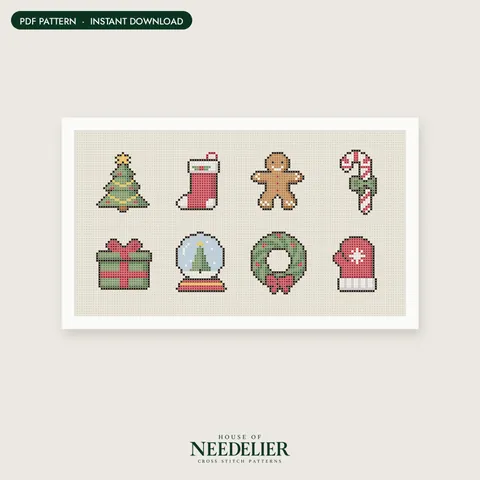
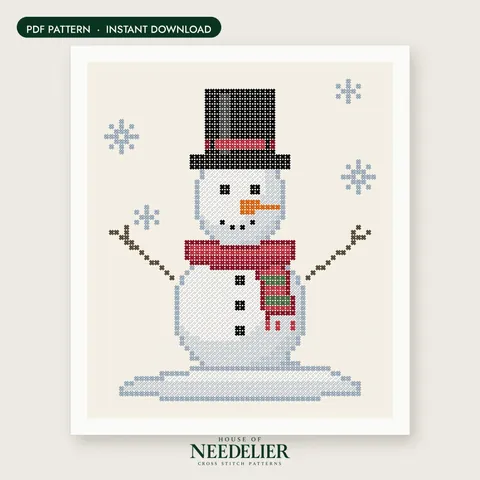
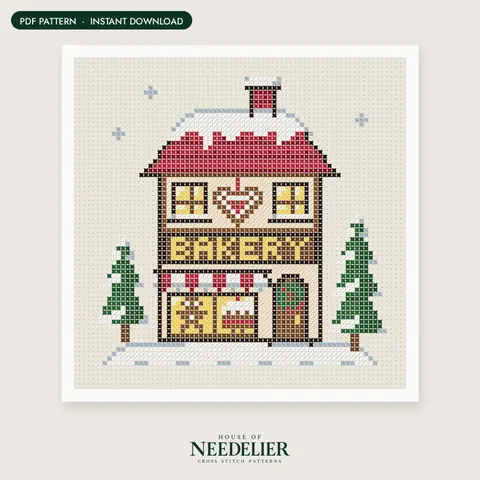
Our Tiny Christmas Icons minis – a tree, stocking, gingerbread cookie, candy cane and more – are sized just right for ornaments and gift tags. The Little Snowman and The Christmas Bakery make lovely larger hoop ornaments, especially on 16 or 18 count. Bigger Christmas pieces such as the Merry Christmas Tree are better framed than hung, and a few small ornaments make a lovely companion to a framed tree. Browse all our holiday patterns in the Christmas & Winter section or the mini pattern bundles.